This service manual show you guide on how to avoid New Holland CX8000 AutoCommand display data loss.
T7000 Power Command™ TIER 3 – T9. – Variable Chamber – Precision Land Management – FR Forage Cruiser series – 9000 L – CX5000 series Tier IV – T7. Tier 4B – T7.230-260 PowerCommand Classic T4B – T8. SmartTrax™ – T8000 – Fixed Chamber – CX5000 Elevation series Tier IV – CX6000 Elevation series Tier IV – T7.170-210 AutoCommand™ – T7.230-260 PowerCommand Sidewinder II T4B – T7000 AutoCommand™ TIER 3 – T9000 – Large BigBaler series – FR9000 – CX8000 series TIER 3 – CX5000 Elevation series Tier III – CR9000 Tier III – T6. AutoCommand™ TIER 4B (FINAL) – Guardian™ Combo – Guardian™ front boom – 9000 X – VL 6000 – CX6000 Elevation series Tier III – CR Model Year 2016 – CL6000 – T6000 – T7. – T7.220-260 Power Command™ – T8. – FR – T6.120-175 – T6.125-180 TIER 4B (FINAL) – T7. AutoCommand™ Tier 4B – T7.170-210 Range- /PowerCommand™ – T7.230-270 AutoCommand T4B – CX8000 Elevation – CR Harvest Suite Ultra Cab – CR Series Tier IV – CX5000 series Tier III – CX6000 series Tier IV – CX7000 Elevation series – CR series Tier III – Large – Large BigBaler series NA – Guardian™ rear boom – CX Harvest Suite Ultra Cab – CX8000 series Tier IV – 9000 M – T6. AutoCommand™ – T7.220-270 AutoCommand™
Related Contents:
2023 CNH EST
CNH DPA5 Diagnostic Kit
CNH eTimGo Offline
To avoid the loss of data from the IntelliView™ NEW HOLLAND recommends you to follow each of these steps:
Allow the display to shut down completely before you turn OFF the battery isolator switch of the vehicle.
Always use the NEW HOLLAND approved Universal Serial Bus (USB) Memory stick (Part Number: 84398840) in the display for data storage.
Upgrade the display software application to V30 from EST V8.3.0.0 or higher.
At the end of each working day, archive the information from the USB memory stick to your desktop computer.
Shut down of the display:
Normally when the operator switches the ignition switch OFF, the IntelliView™ display continues to store the display data over a short period of time. If during this storage time the battery isolator switch is also turned OFF, the current display data will be lost.
NOTE: In this situation there is also the possibility that previously stored display data can be lost.
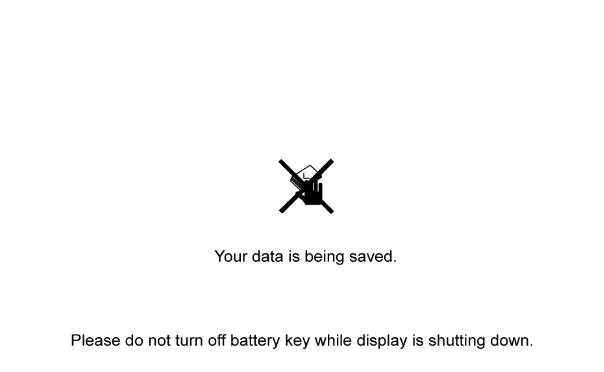
To avoid diplay data losses remember:
Turn OFF the ignition key and then WAIT for 30 seconds before you turn OFF the battery isolator switch.
USB device:
The use of a Universal Serial Bus (USB) memory stick will also help to avoid display data losses.
The continuous use of a USB in the USB port of the monitor:
Ensures that display data is stored to the USB memory stick
Ensures that previous task data are not lost in the event of a premature turn OFF of the battery isolator
NOTE: In the event of a premature turn OFF of the battery isolator only the current task data will be lost. Current task data is the task data since the ignition key was previously switched ON.
NOTE: ONLY use the NEW HOLLAND USB memory stick 84398840 . DO NOT use any other type of USB memory stick.
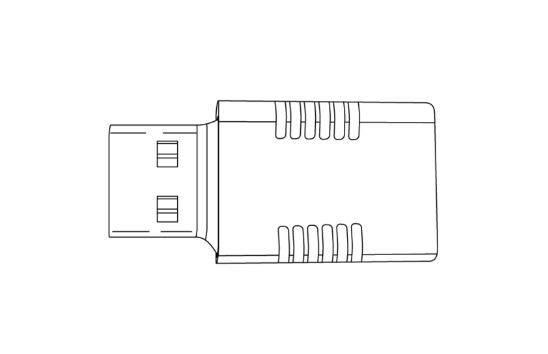
Installation of the USB memory stick:
1Insert the USB memory stick into the USB port on the back of the display. Make sure that you fully locate the USB memory stick into the USB port.
NOTE: You MUST insert the USB memory stick into the USB port, before you turn the display ON. If you insert the USB memory stick into the USB port after you turn on the display, the system DOES NOT detect the presence of the USB memory stick.
NOTE: To avoid display data corruption, NEVER remove the USB memory stick until the display is completely powered-down. For complete shut down of the display, wait for 30 seconds after you turn the ignition OFF.
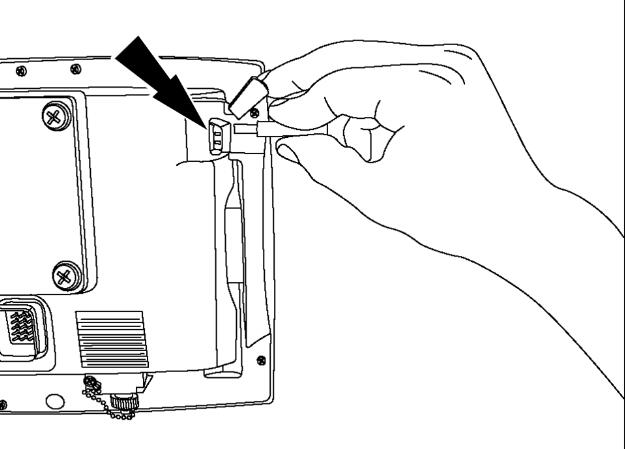
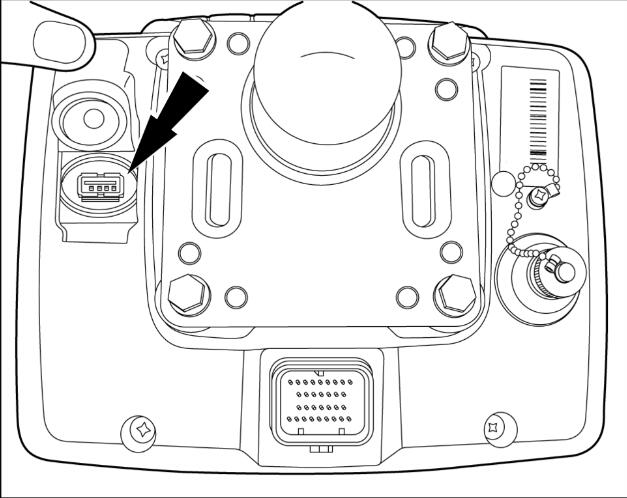
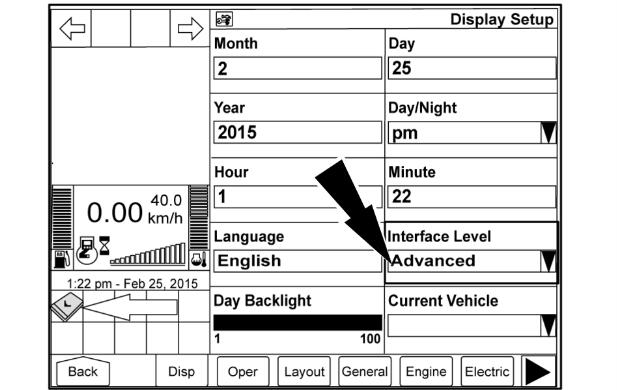
From the ‘Display setup’ screen:
3Select ‘Advanced’ from the ‘Interface level’ drop down menu.
NOTE: This action will restart the display. When the display restarts, the display will automatically recognise the presence of the USB memory stick.
4Turn the ignition switch OFF to shut down the monitor.
NOTE: The first time that the monitor is shut down you will notice that the initial shut down takes more time than usual. During this initial shut down, there is the transfer of all the previous task data onto the USB stick.
NOTE: If you need to remove the USB stick, only do so after the monitor has completely shut down.
V30 Display Software Upgrade:
Prior to the release of V30 display software, the display data would continuously record to the USB memory stick during machine operation
In machine applications with heavy data transfer, for example ‘Yield Monitoring’ or use of the ‘As Applied’ application, this heavy data transfer can result in:
Premature USB device failure
Display Data Corruption
The display rebooting or crashing
NOTE: The new logic in the V30 display software greatly reduces the risk of occurrence of the three above issues.
Since the release of the V30 display software, the display data transfers to the internal memory of the display during machine operation.
CNH EST Diagnostic Software
The display data within the internal memory of the display then transfers onto the USB memory stick when:
The operator shut down the display
The operator selects a new grower name, farm name, or field name
NOTE: This data transfer applies for both the CNH proprietary ‘Voyager’ display format and for the ‘Task Controller ISOXML’ format.
For full information with regard to software downloads see the:
IntelliView™ Service Manual: Software – Program
Archiving Display Data:
At the end of each working day, NEW HOLLAND recommends you to archive the information from the USB memory stick to a desktop computer. This action should be common practice for all vehicles that incorporate IntelliView™ display systems.
