Posted on

How to Repair Cylinder Block for CLAAS AXION 920 Tractor?

How to Repair Cylinder Block for CLAAS AXION 920 Tractor (1)

Here is the instruction show you guide on how to repair cylinder block for CLAAS AXION 920 tractor.


Related Contents:

NEW CLAAS Diagnostic Interface 4 CAN

CLAAS Webtic Offline Repair and Service

CLAAS CDS 7.5 Diagnostic System 2021.05


Procedures:

Repairing the cylinder block

Checks and measurements of the liners

How to Repair Cylinder Block for CLAAS AXION 920 Tractor (1)

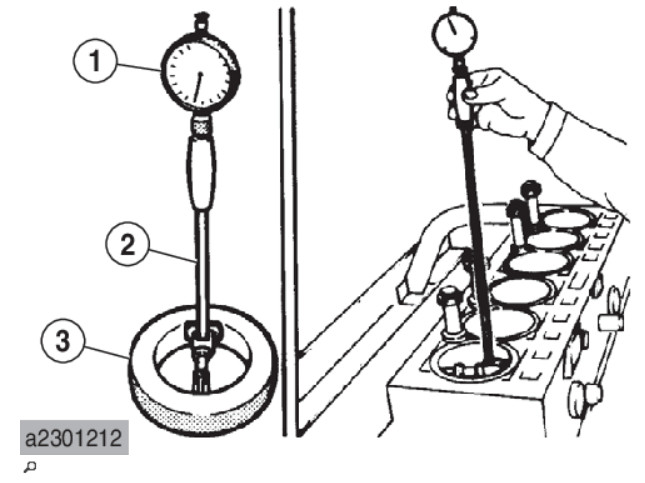
Check the internal diameter of the cylinders for runout, tapering and wear, using a gauge (2) with a dial gauge (1), set to zero on the ring gauge (3) with a diameter of 117 mm.

NB: If you do not have a ring gauge with a diameter of 117 mm available, use a micrometer.

How to Repair Cylinder Block for CLAAS AXION 920 Tractor (2)

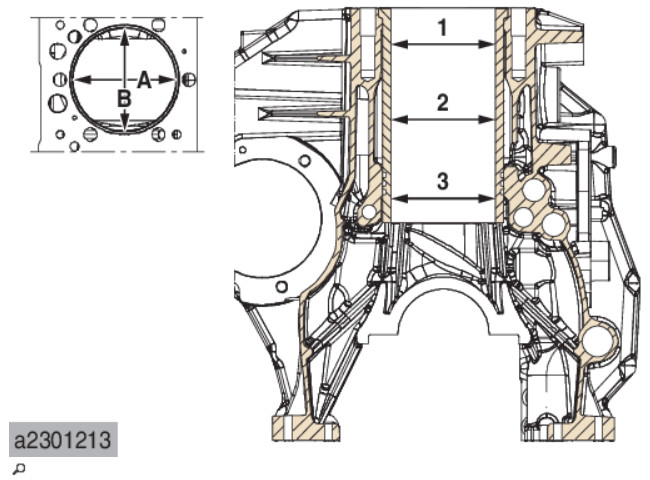
Measurements must be taken for each cylinder at three heights along the liner and on two perpendicular levels “A” and “B”.

How to Repair Cylinder Block for CLAAS AXION 920 Tractor (3)

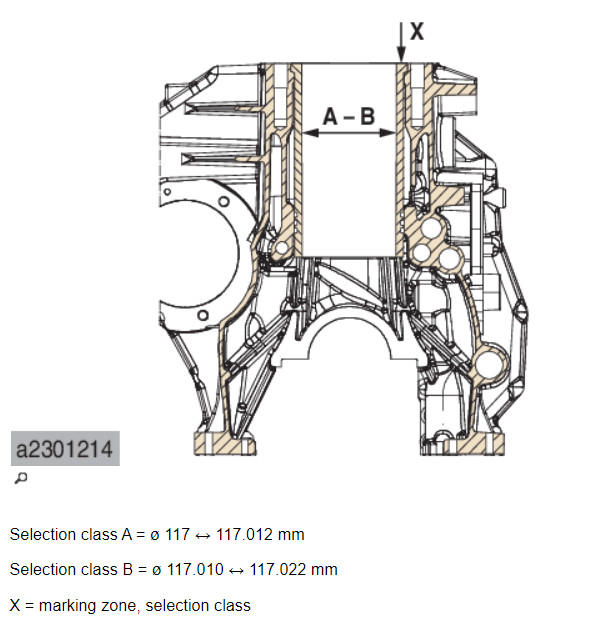
Replace the cylinder if the maximum wear differs by 0.150 mm or the maximum runout by 0.100 mm from the values indicated.

Do not attempt to correct or deglaze.

NB: The cylinders are provided as spares with selection class “A”.

Posted on

How Install Intermediate Drive Shaft for CLAAS Lexion 480

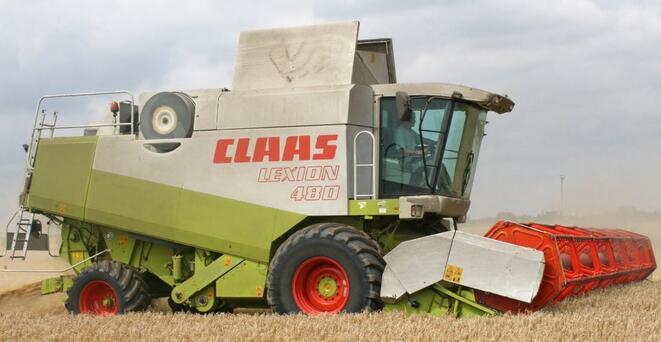
CLAAS Lexion 480

How to install Intermediate drive shaft for CLAAS Lexion 480 Combine.

CLAAS Lexion 480

Related Contents:

CLAAS USB-Interface

CLAAS CDS 7.5 Diagnostic Software


Steps:

1.Slide the intermediate drive shaft (1) into the feed rake housing from the left.
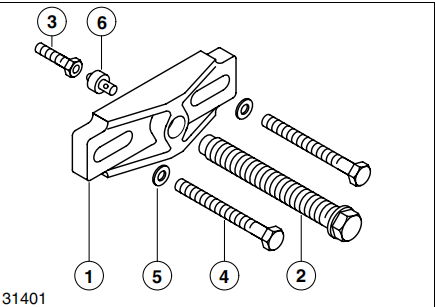
2.Slide on the lock collar bearing (2) and both sheet-metal flanges (3) on the left and bolt them down.
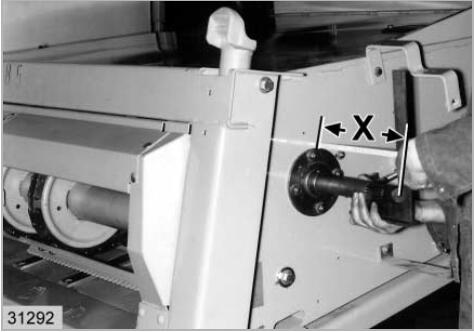
3.Align the shaft axially. Adjust the dimension (X) from the end of the shaft to the feed rake conveyor as follows:
LEXION 480 = 252 mm
How Install Intermediate Drive Shaft for CLAAS Lexion 480 (1)

4.Slide on the lock collar bearing (2) and both sheet-metal flanges (3) on the right and bolt them down.
5.Slide the gear on the shaft and align the shaft so that both gears are aligned.
6.Slide on the lock collars (4) on the left- and right-hand side and tighten by hitting in direction of rotation, then insert the set screw.
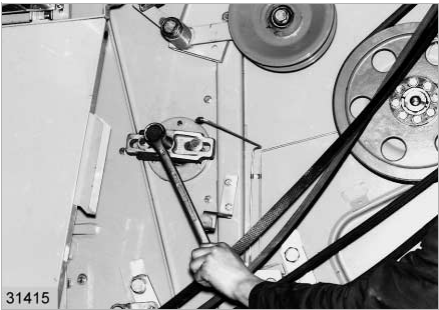
7On the left-hand side, place the parallel key in position, slide the V-belt pulley into place and tighten the clamping hub with the M 12 x 85 hex. bolt.

How Install Intermediate Drive Shaft for CLAAS Lexion 480 (2)
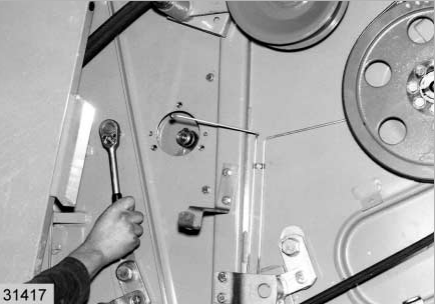
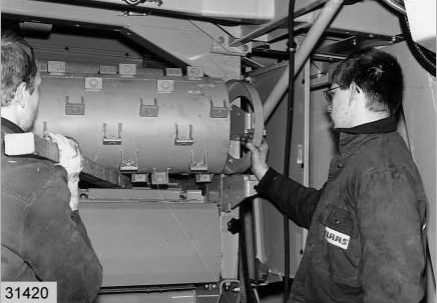
8.On the right-hand side, remove the gear and bolt down the bracket using the bolts that secure the sheet-metal flanges.
Then fasten the gear with the circlip and now bolt down the cover to the bracket with the M 6 x 12
hex. bolts.
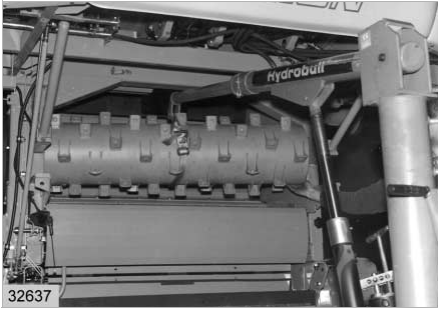
9.Bolt down the hydraulic cylinder to the supporting arm using the M 8 x 65 and M 12 x 25 hex. Bolts and the eccentric bolts. Assemble the eccentric bolt so that there is still some free movement.
How Install Intermediate Drive Shaft for CLAAS Lexion 480 (3)

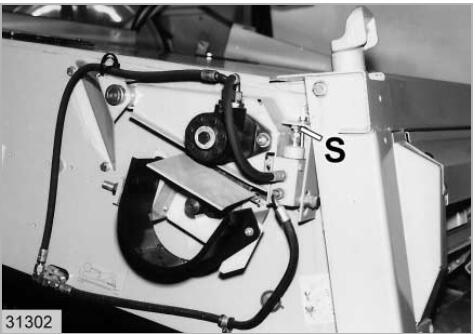
10.Adjusting the hydraulic cylinder:
– Press the drive motor down into the gear.
– Pull out the ram.
– Set and lock setting screw (S) so there is 0.5 mm of play
(1/4 turns) up to the stop.
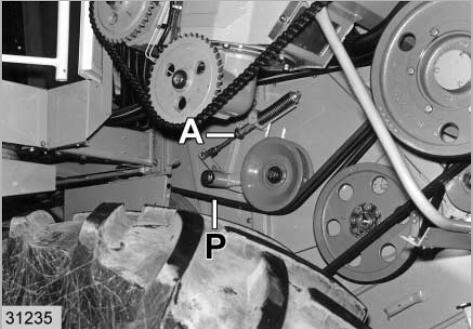
11Install the cutterbar drive belt (P) and adjust it
– see page 7.2.2, Installing and adjusting the cutterbar drive belt (1) (Cutterbar drive without variable-speed drive) and/or Installing and adjusting the cutterbar drive belt (2) (Cutterbar drive with variable-speed drive).
12Install the left-hand guard and the universal coupling.